Here are 4 tricks that I’ve found to make my life easier and help me communicate better with my co-workers.
1. Store screenshots in a folder on your Dock 📂
How do you keep your desktop from being overrun with screenshots? The macOS default is to just dump the images next to everything else you store. If, like me, you take a lot of screenshots, your desktop can quickly fill up.
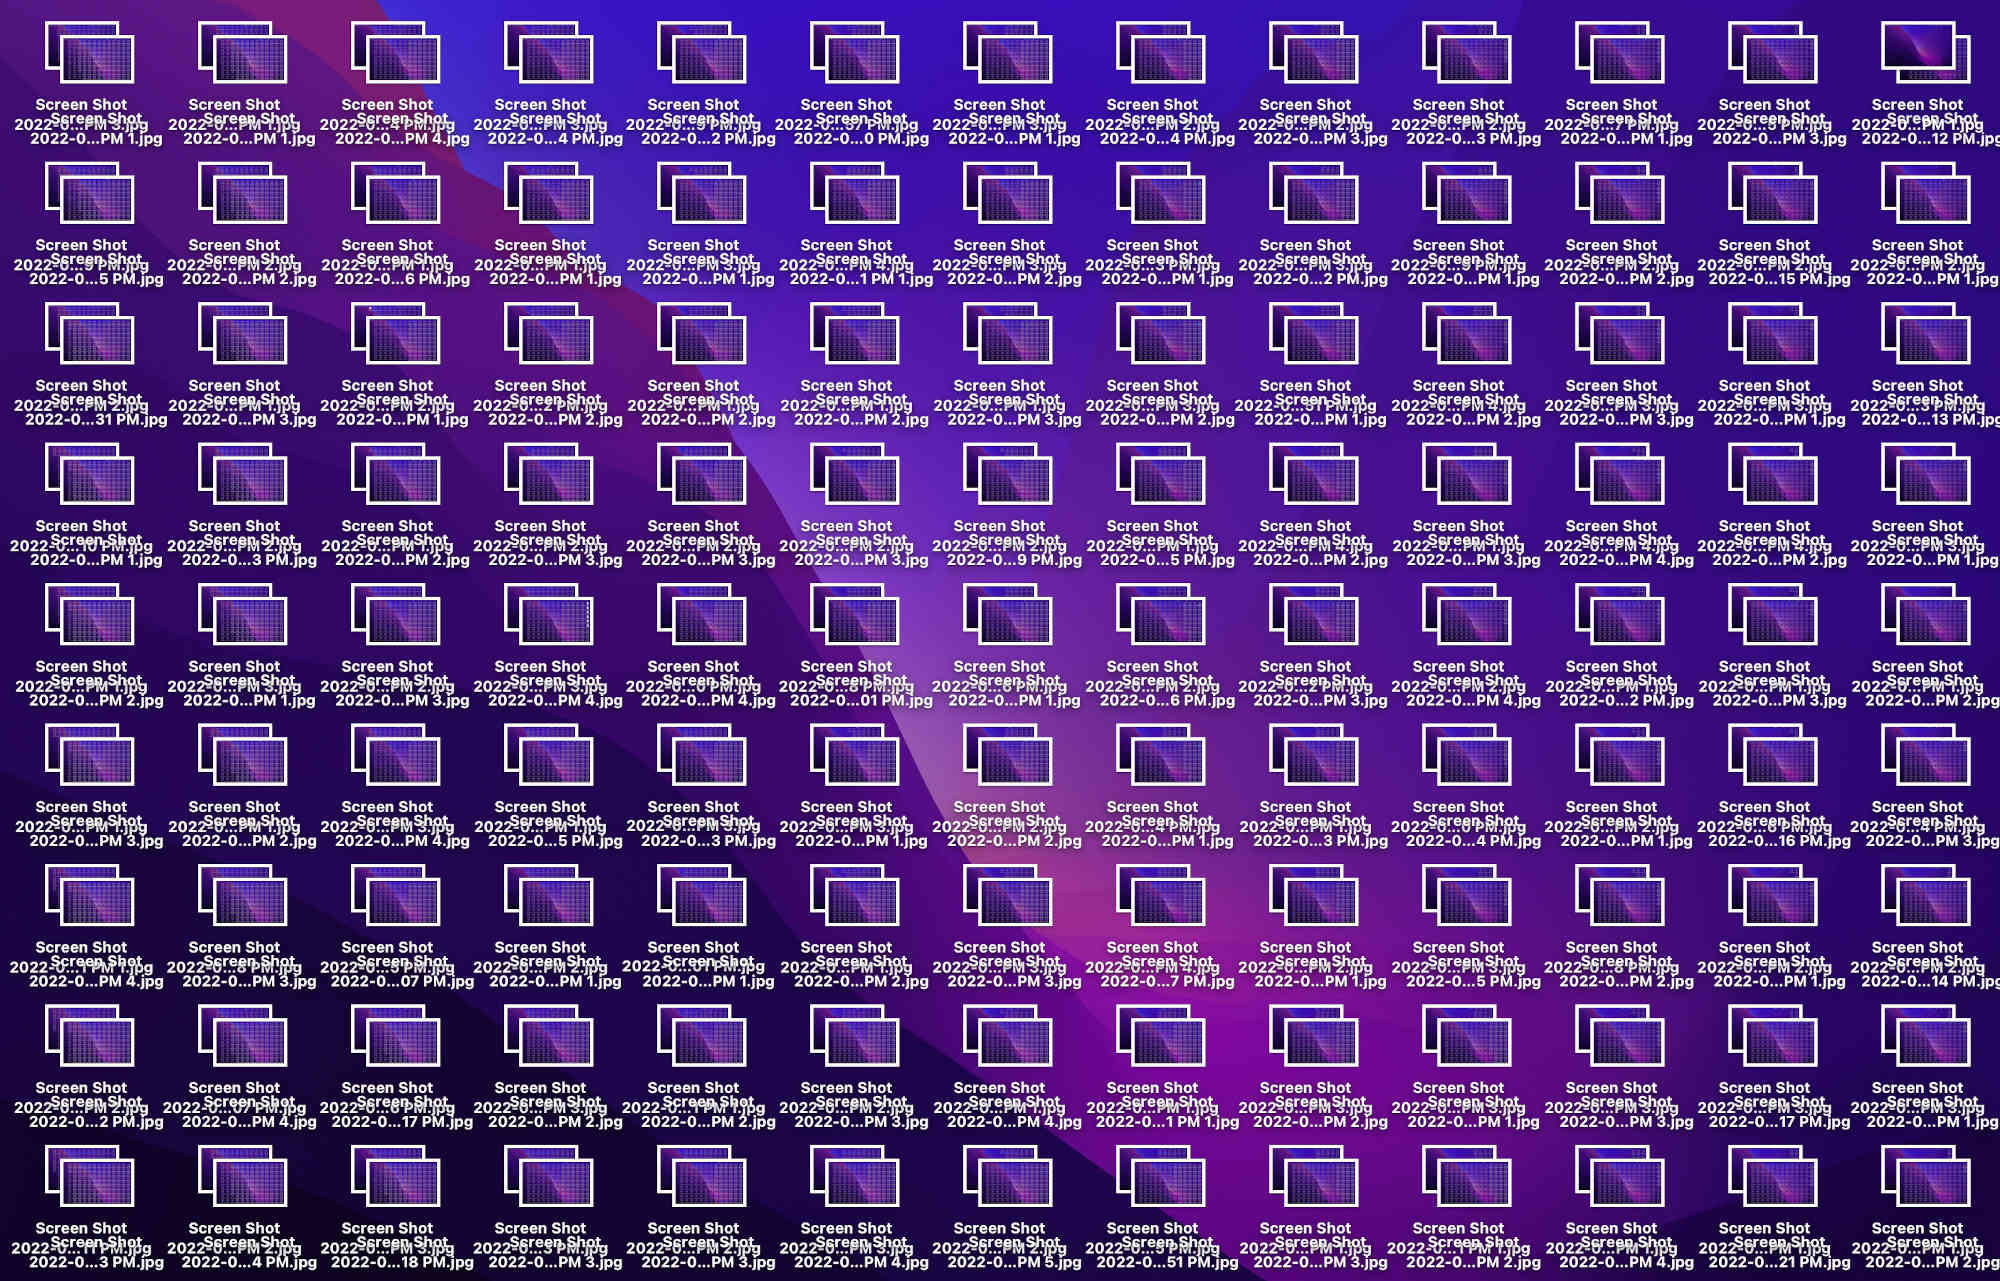
The solution: store them in a Dock folder like Steve Jobs intended.
(This one is from a tweet I wrote a year ago.)
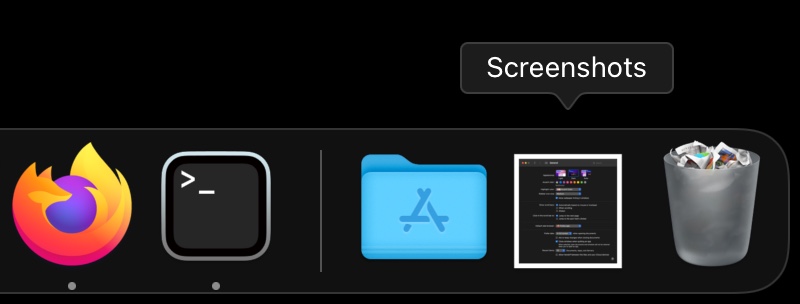
- Create a “Screenshots” folder
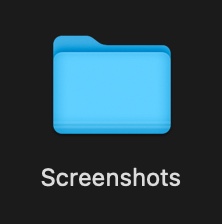
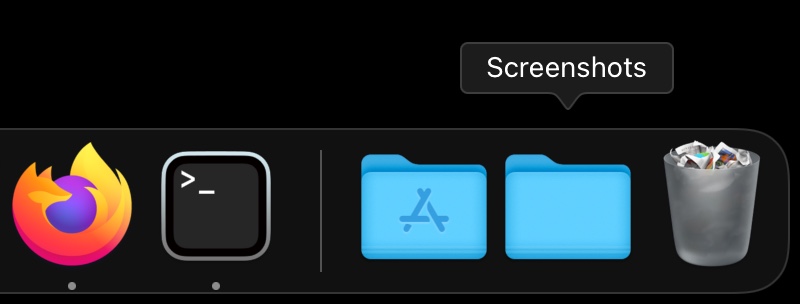
- Put the folder on your Dock
- Open screenshot settings (
⌘ ⇧ 5)
- Set it to your new “Screenshots” folder
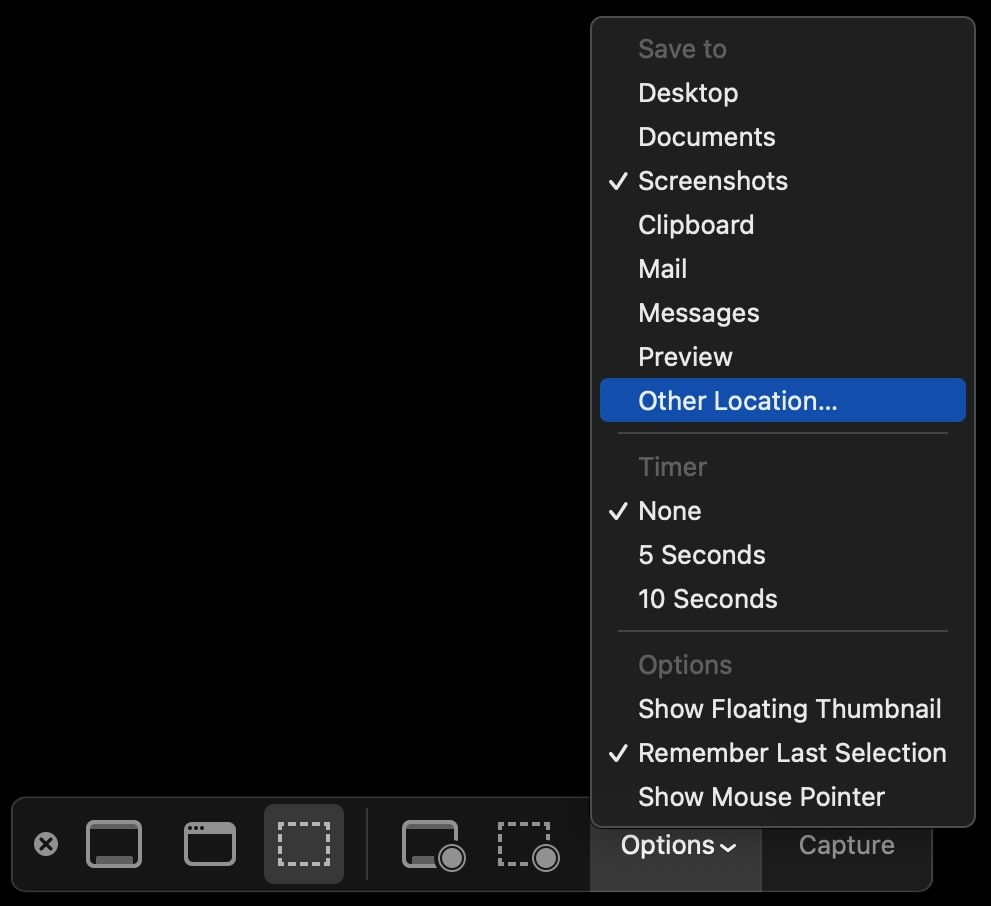
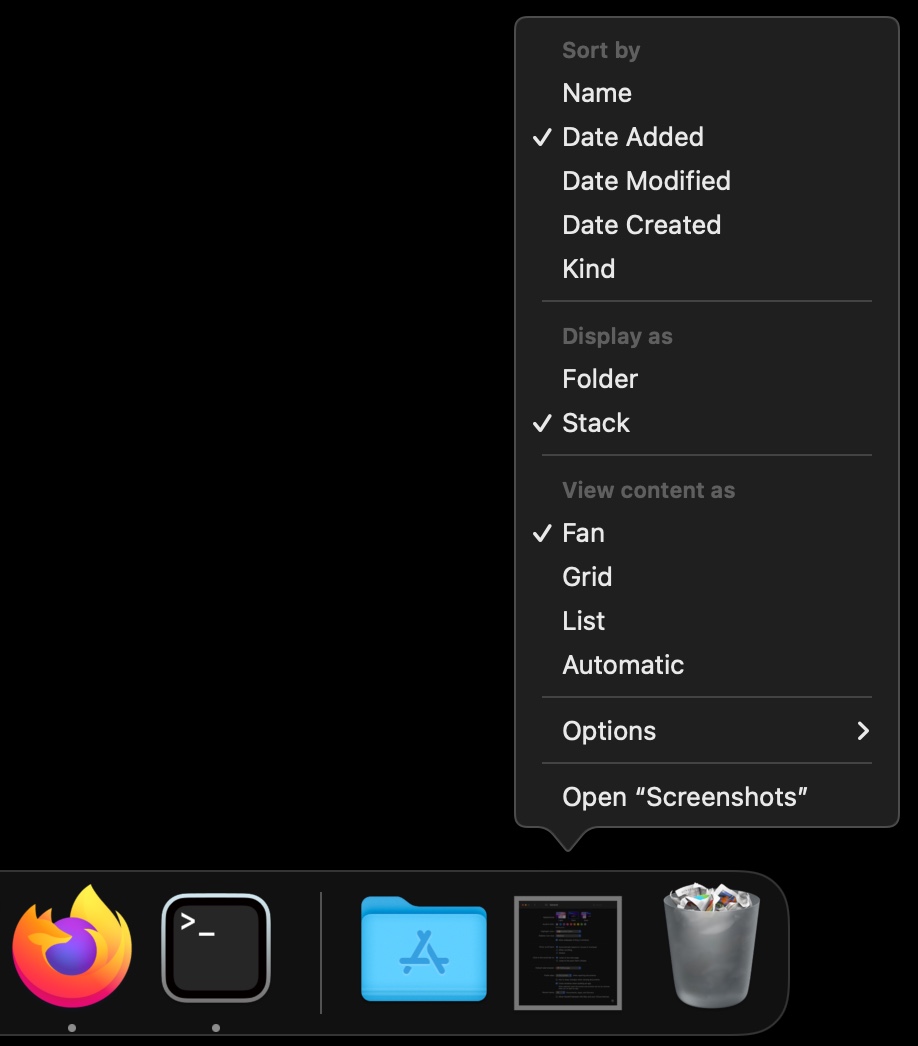
- Right click the folder to make it more usable. Sort by “Date Added”, and select “View content as: Fan”.
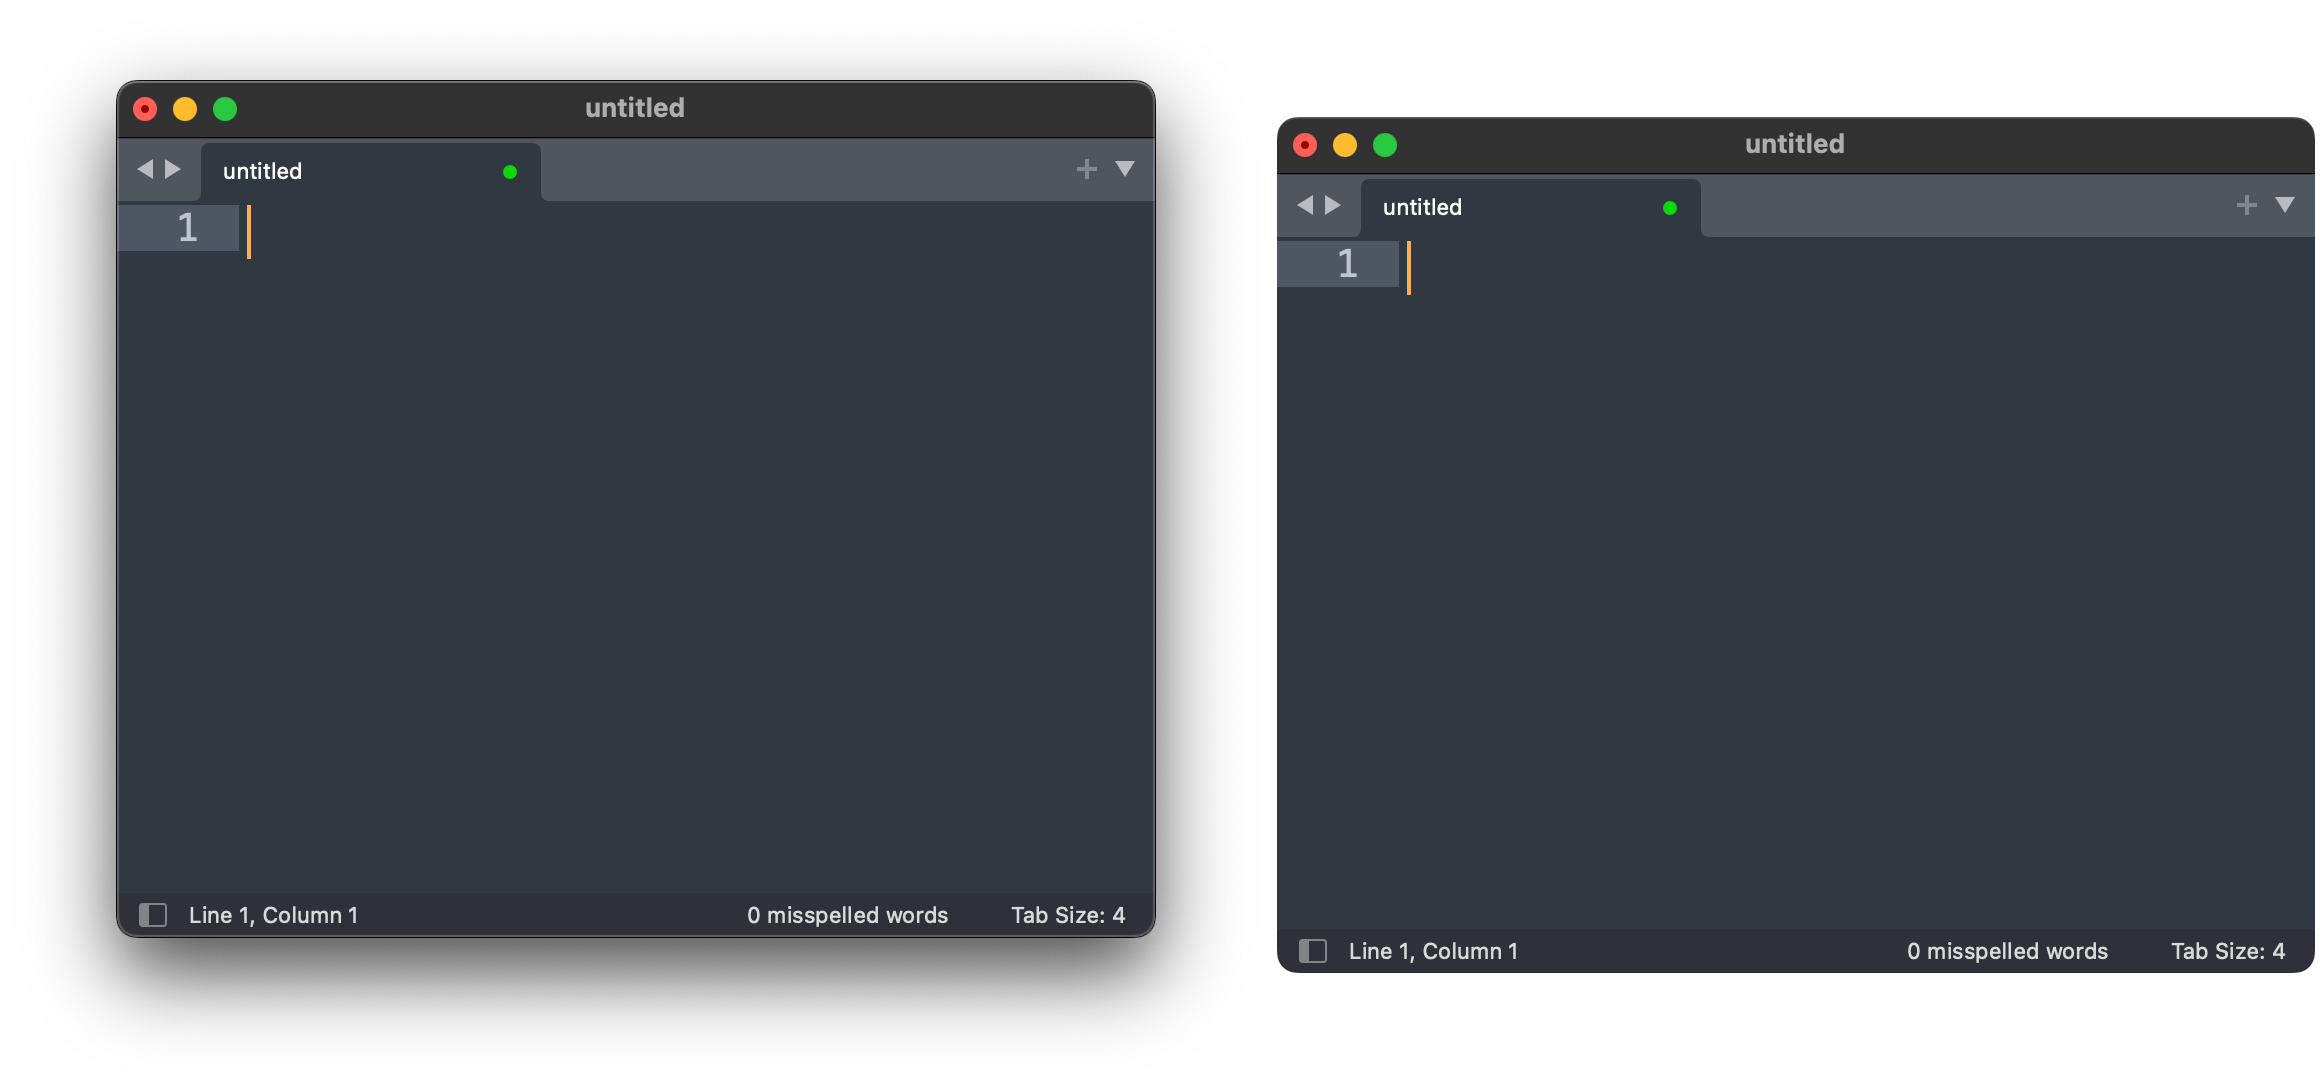
2. Remove screenshot shadow 🕶
How can you make full-app screenshots (⌘ ⇧ 4 then space bar) only include the relevant content without the extra gradient border? If your plan is to share the image, the person receiving the image probably doesn’t care about the feeling that the screen is floating. Remove the shadow!
Run the following command from Terminal (Applications -> Utilities -> Terminal).
defaults write com.apple.screencapture disable-shadow -bool true; killall SystemUIServerTo bring back the shadow, change true to false.
defaults write com.apple.screencapture disable-shadow -bool false; killall SystemUIServer3. Take screenshots as JPEGs, not PNGs ⚖️
How can you make your screenshots take up less space? If you’re sharing the images to places with resource constrains or just want faster uploads, you’re going to want the images to be smaller. One easy way is to change your default screenshot format from .png to .jpg.
Run the following command from Terminal.
defaults write com.apple.screencapture type jpg; killall SystemUIServerIf you change your mind later, you can always go back with.
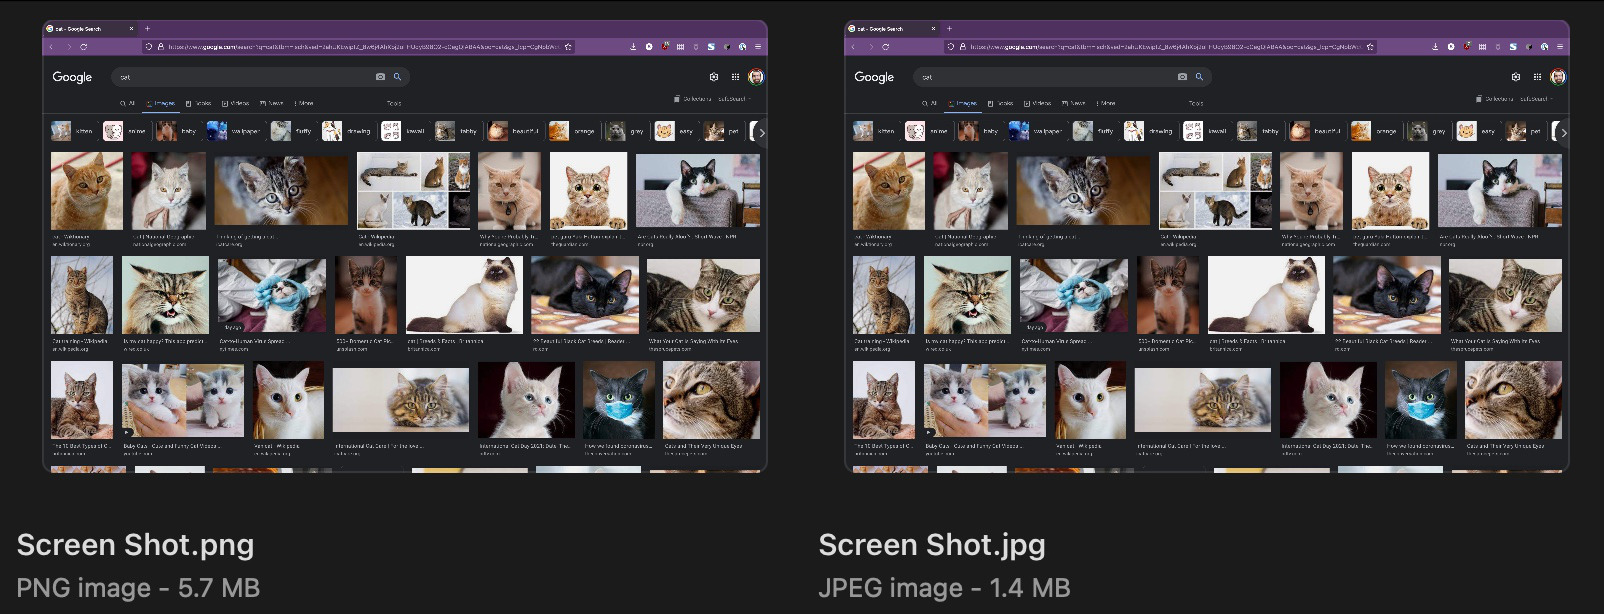
defaults write com.apple.screencapture type png; killall SystemUIServerI took a screenshot of a Google image search for “cat” and the PNG was 5.7MB while the JPEG was 1.4MB. I got less impressive results when I took screenshots of mostly solid color screens.
⚠️ The main downside of this setting is that transparent parts of screenshots will be turned black.
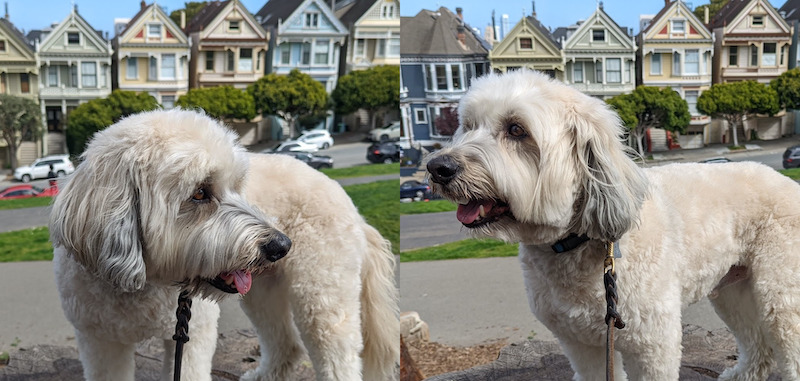
4. Show side-by-side comparisons with ImageMagick 🧑🤝🧑
How can you easily show the before-and-after of an image? You could use Photoshop or GIMP, but that takes a fair amount of time. If you’re comfortable enough to use Terminal, you can very quickly make a side-by-side with ImageMagick.
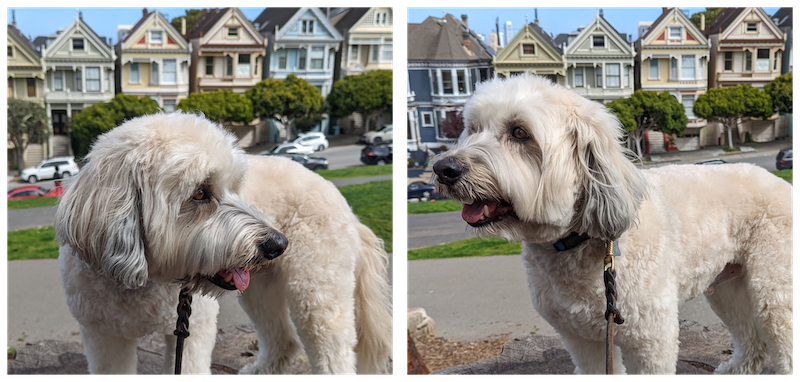
ImageMagick has a helpful set of image manipulation tools including montage. If you don’t yet have Homebrew installed, I recommend doing that first. You can then install ImageMagick by running brew install imagemagick from Terminal.
To make a 2x1 image with a 20 pixel buffer around each image and a transparent background, run the following from Terminal (with the <entries> changed out). You’ll want the output to be a .png if you want a transparent background.
montage <image1> <image2> -tile 2x1 -geometry +20+20 -background none <ouput.png>Of course you can change to -geometry +0+0 if you want no space or have the output with a .jpg extension if you want a smaller image size.
Instead of typing out the <image> file names, you can also drag the file onto the Terminal window.
If you liked this, please tell a friend. If you hated it, keep it to yourself. Thanks to Richard for feedback on this before I sent it out.
Update (2022-06-16T14:25:03-0700): The Hacker News post has other hot tips that will further impress your co-workers. I’ve also corrected some typos the internet helpfully pointed out. 😅