Let’s create a very very very basic live wallpaper on Android.
Background on Backgrounds
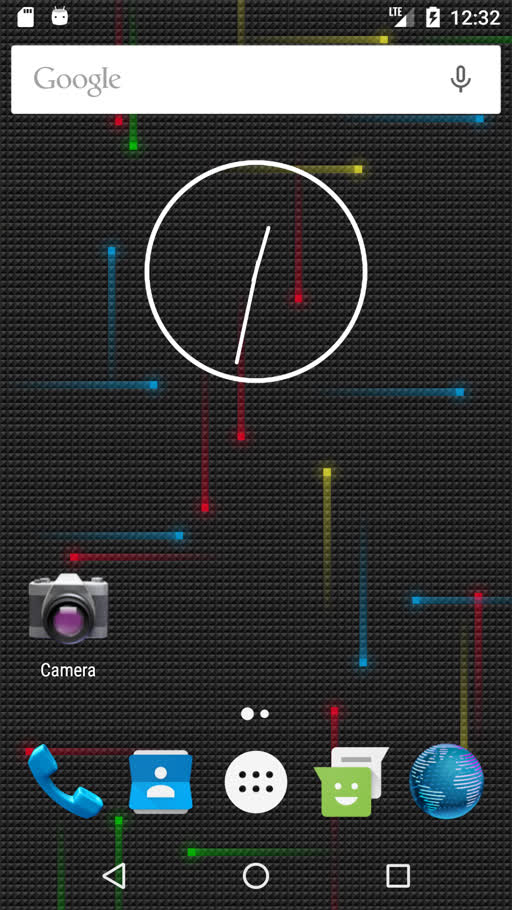
Android has had live wallpapers since Android 2.1 (Eclair, API 7) which was released in January of 2010 1. If you were using Android back then, you might have remembered this gem of a wallpaper.2
Step 0 - Prep an Android project
Create an Android project using the creation wizard. I used all of Android Studio’s default settings with Kotlin, and it went well. If you already have a project lying around, you could probably use that too.
Step 1 - Initialize the WallpaperService
The main class that runs the live wallpaper is the WallpaperService.Engine which is an inner class of WallpaperService.
Start by making an implementation of WallpaperService with an inner class that implements WallpaperService.Engine. We’ll come back to it later.
class MyWallpaperService : WallpaperService() {
  override fun onCreateEngine(): Engine = WallpaperEngine()

  inner class WallpaperEngine : WallpaperService.Engine() {
  }
}
Step 2 - Modify your various XML files
For your app to provide the phone with your live wallpaper, you’ll need to make a resource for it and declare your WallpaperService in your AndroidManifest.xml file.
Make an XML file in your resources folder main/res/xml/my_wallpaper.xml. It only really needs a <wallpaper /> tag, but this is where you can define a thumbnail, settings activity, and other neat things.
<?xml version="1.0" encoding="utf-8"?>
<wallpaper />
Jump over to your AndroidManifest.xml file. You’ll need to let Android know that you’re using the live wallpaper API.
<?xml version="1.0" encoding="utf-8"?>
<manifest>
  <!--  ... some stuff ...  -->

  <uses-feature
      android:name="android.software.live_wallpaper"
      android:required="true" />

  <!--  ... other stuff  -->
</manifest>
In that same Android Manifest, you’ll also need to declare your WallpaperService to give it permissions to do wallpaper-y things.
<?xml version="1.0" encoding="utf-8"?>
<manifest>
  <application>
    <!-- ... some stuff ... -->

    <service
        android:name="MyWallpaperService"
        android:enabled="true"
        android:permission="android.permission.BIND_WALLPAPER">
      <intent-filter>
        <action android:name="android.service.wallpaper.WallpaperService" />
      </intent-filter>

      <meta-data
          android:name="android.service.wallpaper"
          android:resource="@xml/my_wallpaper" />
    </service>

    <!-- ... other stuff ... -->
  </application>
</manifest>
Step 3 - Launch your empty wallpaper
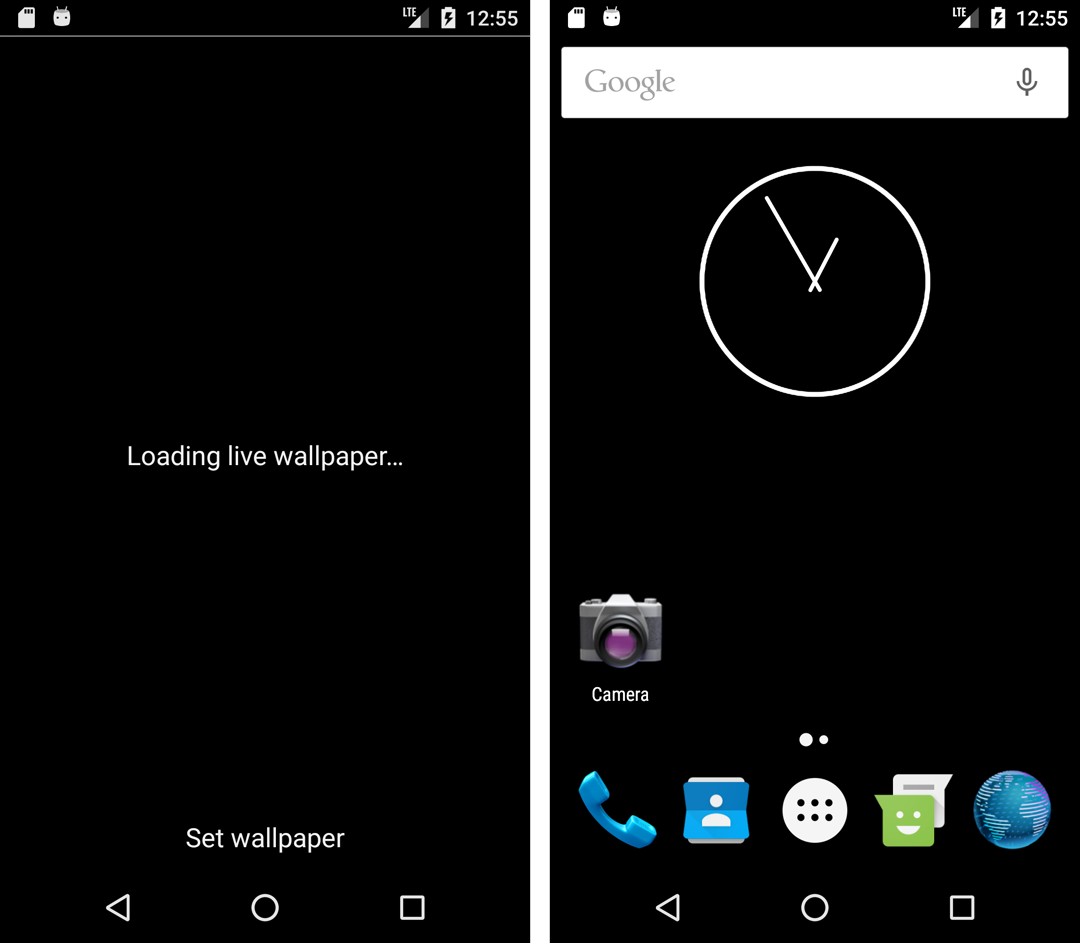
Now that the system knows about your fun (currently blank) wallpaper, it’s time to get it going! To wire it up, you need to start the WallpaperManager.ACTION_CHANGE_LIVE_WALLPAPER action with your WallpaperService. You can do this from within an OnClickListener, or anywhere that can start an Activity.
val intent = Intent(WallpaperManager.ACTION_CHANGE_LIVE_WALLPAPER)
intent.putExtra(
    WallpaperManager.EXTRA_LIVE_WALLPAPER_COMPONENT,
    ComponentName(this, MyWallpaperService::class.java)
)
startActivity(intent)
It should look something like this.
Step 4 - Have fun with ✨art✨
Go back to your WallpaperService and WallpaperService.Engine implementation from Step 1. We’ll just make changes in these classes for the rest of this tutorial.
Solid Background
To make a background, get the canvas, draw on it, and then post the update. In our first example, override the WallpaperService.Engine#onSurfaceCreated method.
class MyWallpaperService : WallpaperService() {
  override fun onCreateEngine(): Engine = WallpaperEngine()

  private inner class WallpaperEngine : WallpaperService.Engine() {

    override fun onSurfaceCreated(holder: SurfaceHolder) {
      val canvas = holder.lockCanvas()
      // ... do ✨art✨ stuff
      holder.unlockCanvasAndPost(canvas)
    }
  }
}
To set everything as one color, draw a Paint object with fill style and color of your choice.
override fun onSurfaceCreated(holder: SurfaceHolder) {
  val canvas = holder.lockCanvas()
  val paint = Paint().apply {
    color = Color.CYAN
    style = Paint.Style.FILL
  }
  canvas.drawPaint(paint)
  holder.unlockCanvasAndPost(canvas)
}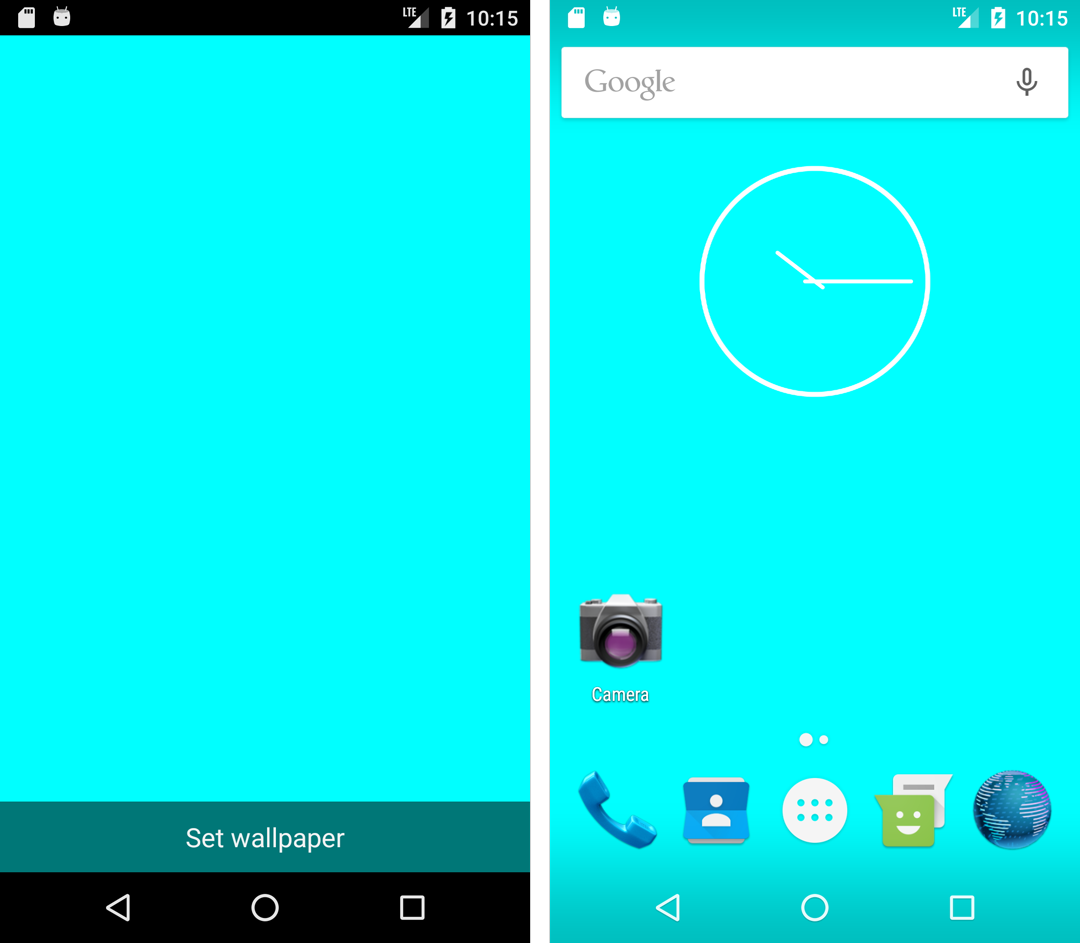
It’s (a)live!
To show the wallpaper updating as we touch our device, we’re going to override the WallpaperService.Engine#onTouchEvent callback. We want to only update when we actually touch our device and not when we also lift our finger up, so we’ll filter for the MotionEvent.ACTION_DOWN action.
class MyWallpaperService : WallpaperService() {
  override fun onCreateEngine(): Engine = WallpaperEngine()

  private inner class WallpaperEngine : WallpaperService.Engine() {

    override fun onTouchEvent(event: MotionEvent?) {
      // on finder press events
      if (event?.action == MotionEvent.ACTION_DOWN) {
        // get the canvas from the Engine or leave
        val canvas = surfaceHolder?.lockCanvas() ?: return
        // ... do ✨art✨ stuff
        // update the surface
        surfaceHolder.unlockCanvasAndPost(canvas)
      }
    }
  }
}
To show the touch events are working, let’s change the color to a random one every time. Here’s a quick and easy way to pick a random color between #000000 and #FFFFFF.
// value between #000000 and #FFFFFF
val randomColor = Random.nextInt(16_777_216)
  // convert it to hex/base 16
  .toString(16)
  // gurantee it's six characters long
  .padStart(6, '0')
  // still need to prefix with a '#',
  // but you get the idea.
And when we put it all together…
class MyWallpaperService : WallpaperService() {
  override fun onCreateEngine(): Engine = WallpaperEngine()

  private inner class WallpaperEngine : WallpaperService.Engine() {

    override fun onTouchEvent(event: MotionEvent?) {
      if (event?.action == MotionEvent.ACTION_DOWN) {
        val canvas = surfaceHolder?.lockCanvas() ?: return

        val paint = Paint().apply {
          val randomColor = Random.nextInt(16_777_216)
            .toString(16)
            .padStart(6, '0')
          color = Color.parseColor("#$randomColor")
          style = Paint.Style.FILL
        }
        canvas.drawPaint(paint)

        surfaceHolder.unlockCanvasAndPost(canvas)
      }
    }
  }
}
… we get a live wallpaper! Here’s a bunch of colors that come up randomly on my first few taps.3

Keep going!
Now that you have a basic live live wallpaper, try things out! Lars Vogel also wrote a nice tutorial which I learned from before writing this. Their post has more on using a Handler and Runnable which will be useful if you want your live wallpaper to move continuously. If you end up making anything (including this example), please record it and share it with me on Twitter.
Thanks for your time, and I hope you enjoyed this post!
-
The Wikipedia article for Android incorrectly lists Android 2.0 (API 5) as the origin of the live wallpaper. However, if you read the release notes for Android 2.0 (API 5) and Android 2.1 (API 7), you’ll see what I’m talking about. ↩
-
I couldn’t find an emulator running Android 2.1, but I did find Nexus Revamped, a strikingly similar wallpaper. ↩
-
To make a tiled image like this, I installed ImageMagick and ran the following montage command:
montage folder-with-screenshots/* -tile 7x4 -geometry +40+40 -background none tiled-wallpaper-montage.png↩